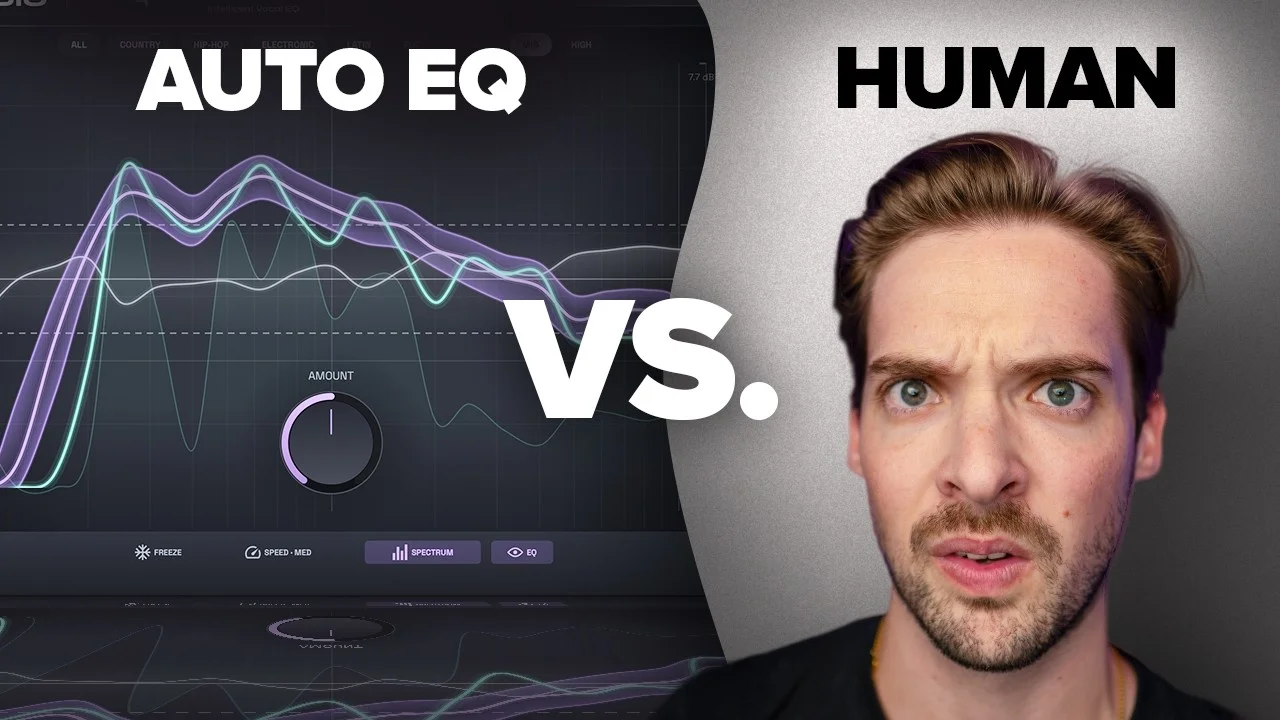
I Tried to Beat My Own Plugin by Hand
Can a one-knob plugin beat a human with a real EQ and real ears? I put myself up against magic.CURVE on three vocals, blind. Here is what happened.
Key Takeaways
- Start EQ with a high pass - boost into it until it sounds wrong, then back it off
- Dip mud around 250Hz and boxiness around 500Hz - 1kHz on most vocals
- Always gain-match before comparing EQ moves - louder always sounds better
- Dynamic voices that jump registers need EQ that moves, not a frozen static curve
- Whisper vocals need the same compression and reverb treatment to sit in a track
I built a plugin that automatically EQs your vocal to sound like 3,054 hit songs.
And then I started wondering something uncomfortable: can a one-knob plugin actually beat a human being with a real EQ and real ears?
So I put myself in the ring against my own creation. Three vocals. Three difficulty levels. Blind tests. No mercy.
I also made a full video on this…
All the ideas in this article come from the video below. If you don't feel like reading, well, I gotchu.
Here’s how it went.
Quick Context: What magic.CURVE Actually Does
If you missed the last video, here’s the short version.
I analyzed the vocals from 3,054 Billboard hit songs spanning the last 35 years. Every one of them. I pulled out the frequency curves, averaged them, and sorted them by voice type.
Then I built a plugin around that data. It listens to your vocal, compares it to the hit curve, and applies an EQ that pushes your vocal toward that target.
One click. That’s the whole workflow.
The plugin is called magic.CURVE, and it has basically two controls that matter: the amount knob (how hard it pushes toward the target curve) and the curve type (low voice, high voice, etc. - you pick whichever is closest to your singer).
It’s built to be stupid simple. Which is exactly why I wanted to see if simple could beat deliberate.
My weapon of choice for this battle: Logic’s stock Channel EQ. No fancy analog emulations, no secret sauce. Just me, a spectrum analyzer, and years of doing this by hand.
Level 1: The Rapper
We started easy.
Not a crazy high belt. Not a subterranean male singer. Just a normal rap vocal.
In my opinion, rappers are some of the most consistent vocalists to EQ. The tone doesn’t swing wildly - they’re not jumping octaves mid-phrase, so the frequency content stays roughly in the same place from bar to bar. One static EQ curve can cover the whole performance without falling apart.
Here’s exactly what I did, step by step.
Step 1: High pass first, always
I start almost every vocal with a high pass filter.
But I don’t just slap it at 80Hz and move on. My method: push the filter up until you start to hear it affecting the voice - then back it off a bit.
That way you’re removing the maximum amount of junk without thinning out the body of the vocal. Rumble, plosives, low-end room garbage - all gone, and you didn’t sacrifice any weight.
Step 2: Find the offending mid-range
Playing the vocal back, I was hearing a lot of mid-range buildup. My first instinct said around 500Hz - that classic boxy, cardboard-y honk.
So I dipped it.
Then I listened again and realized I was actually wrong. The real problem area was closer to 1kHz, not 500Hz.
This is worth calling out, because it’s a thing nobody tells you: your first guess on a problem frequency is often off by an octave. Sweep around. Confirm it. Move the node until the ugly thing actually disappears.
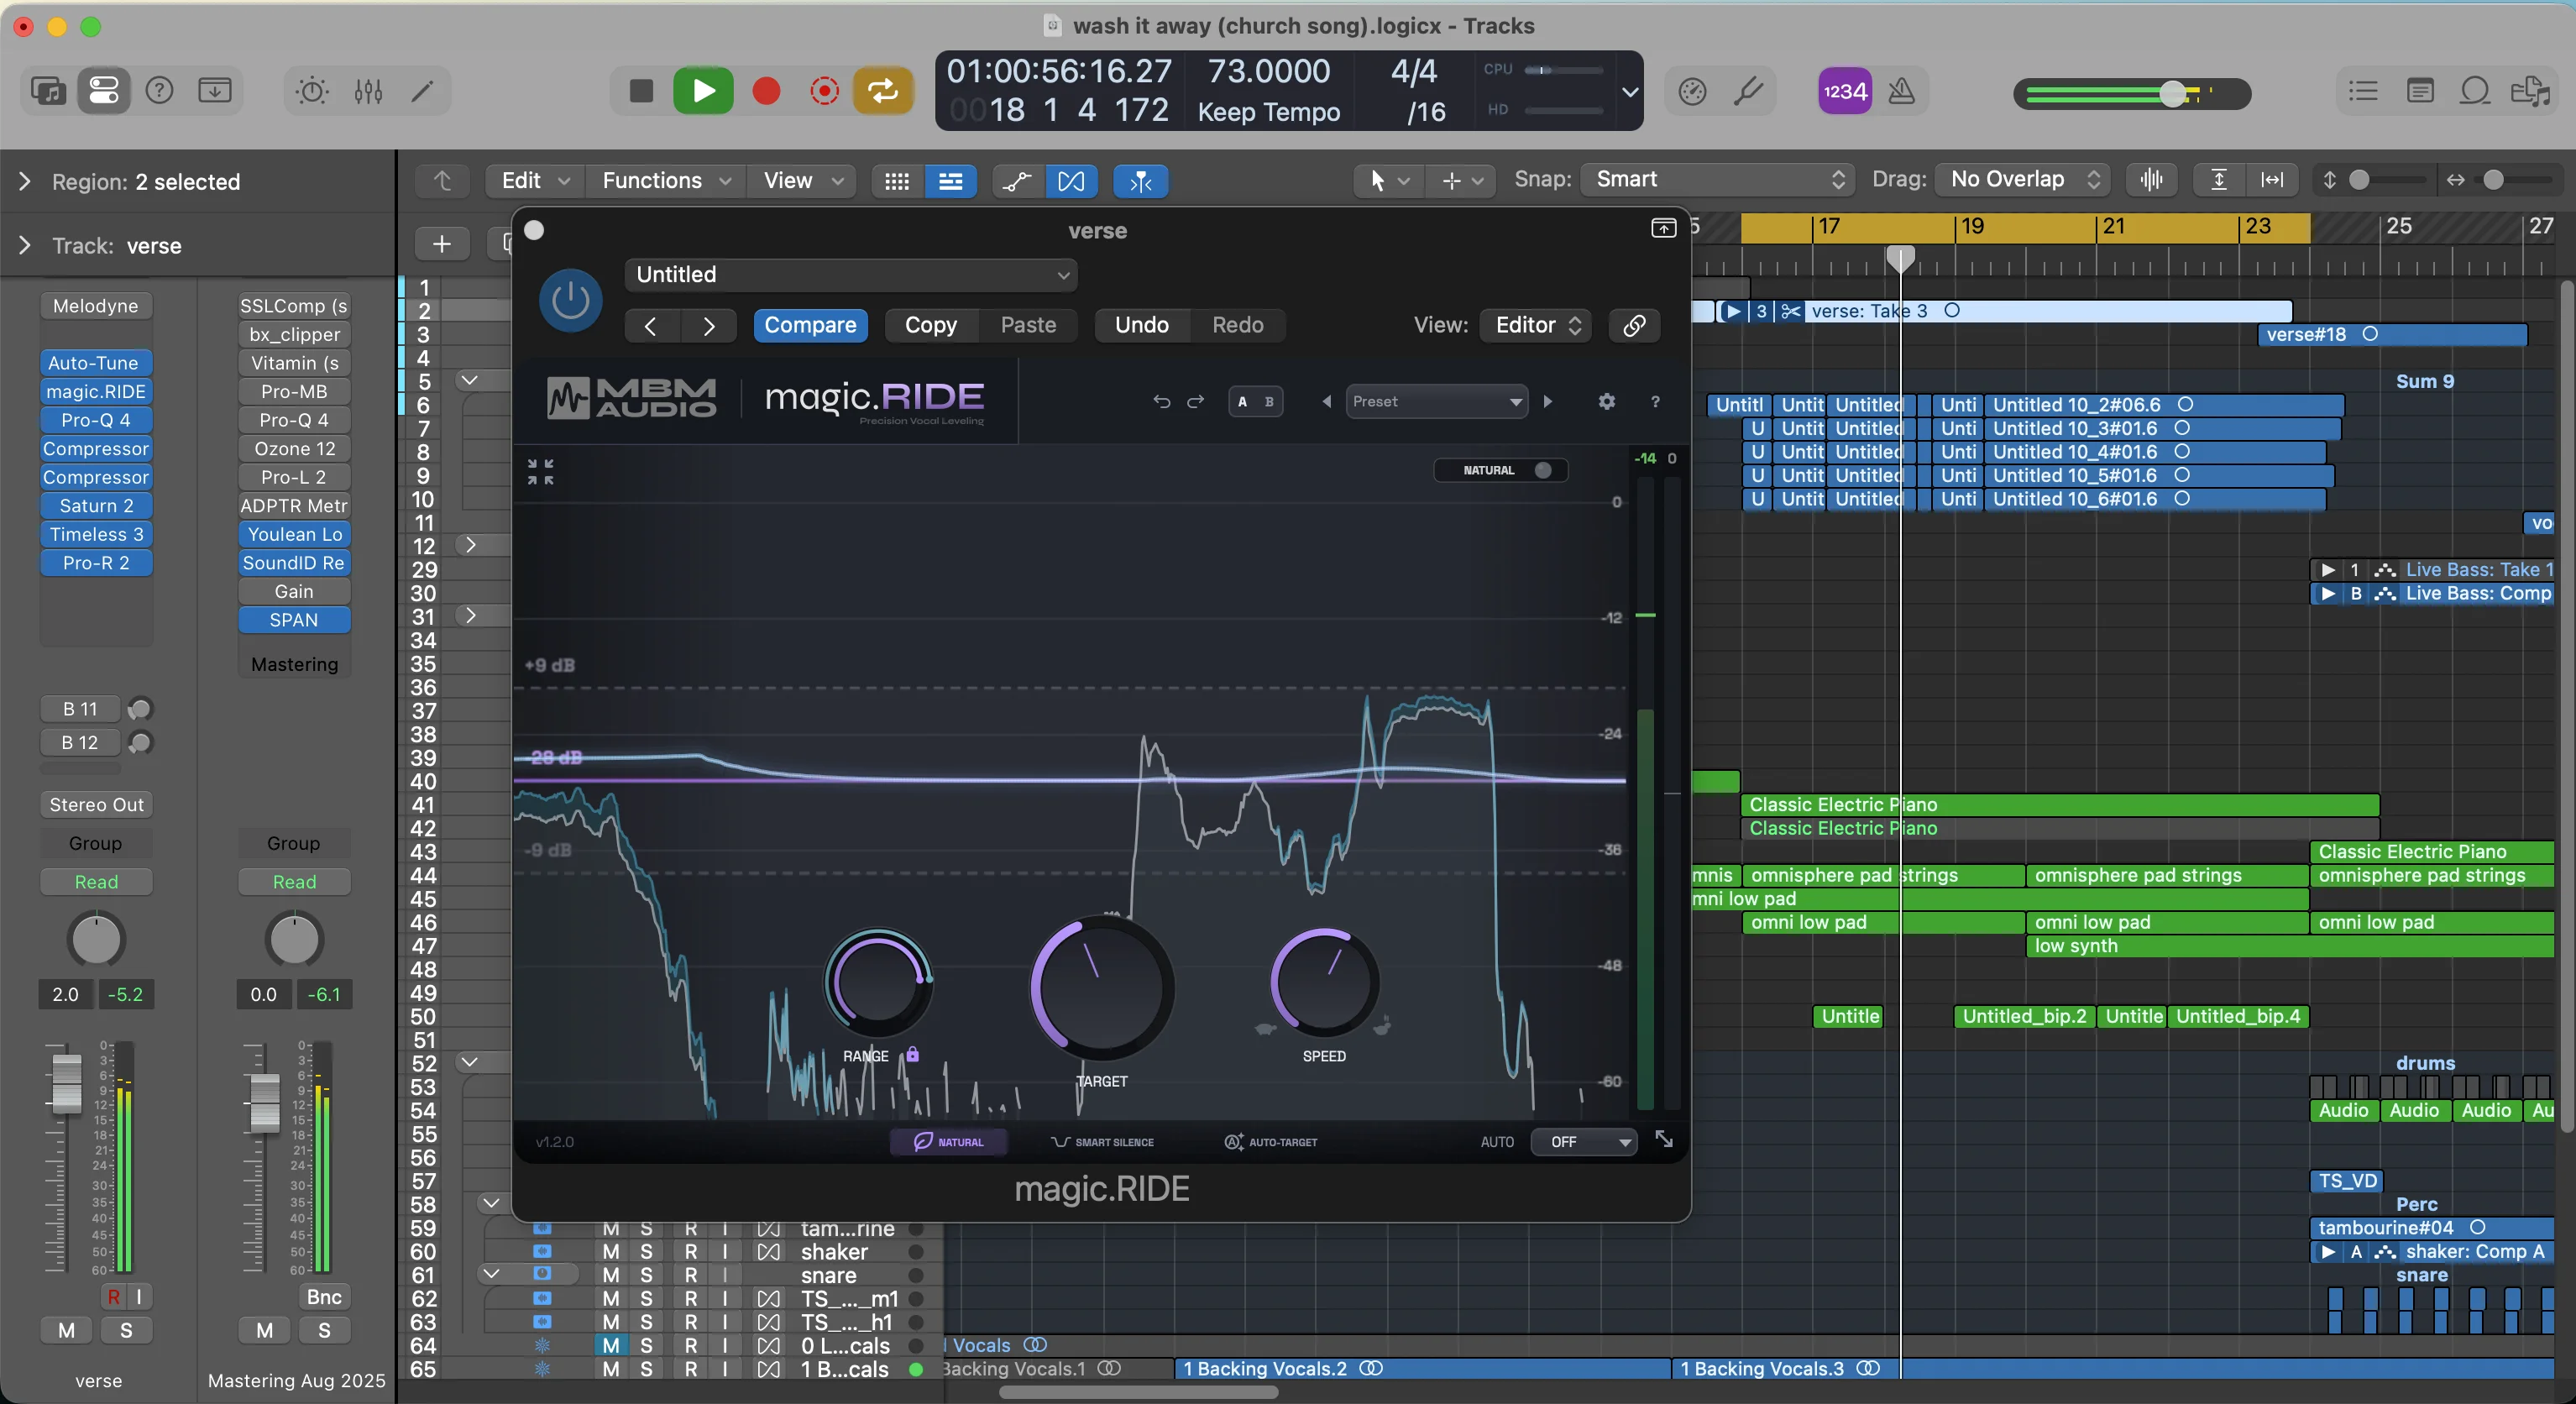
Side note - the microphone I recorded this on tends to have a lot of that 1kHz push baked in. Knowing your mic’s personality saves you a ton of guesswork later.
Step 3: Clear out the mud
Next I heard some mud sitting in the low-mids, so I dipped that out too.
Mud is that blanket-over-the-speakers feeling. Usually lives somewhere in the 200 - 350Hz zone depending on the voice. Small cut, big clarity payoff.
Step 4: A little sheen on top
Finally, a gentle high shelf for air and presence. Not a screaming 10dB boost - just enough to bring that top-end sparkle that makes a vocal feel finished and expensive.
That’s it. High pass, boxiness dip, mud dip, air boost. Four moves. That’s genuinely what most of my vocal EQs look like.
Then I loaded magic.CURVE
For the plugin, I chose the low voice curve since that was closest to this rapper’s register. Then I slowly brought up the amount knob.
You can literally watch the EQ curve draw itself in. The higher the amount, the harder it snaps toward the hit-song target.
And here’s the part that made me nervous - it made a lot of the same moves I did. The mud cut. The mid-range dip. The top-end lift. All of it, automatically, without me telling it anything.
Not exactly the confidence boost I was looking for.
Level 2: The Female Vocalist Who Jumps Registers
Level two is where it gets genuinely hard.
This is a vocalist who came into my studio a couple months ago and recorded with me. What makes her performance brutal to EQ is that she moves from a lower chest voice into a higher register belt within the same song.
Why is that a problem? Because as you move up the note spectrum, the frequency content of the voice changes dramatically.
The EQ curve that makes a chest voice sound warm and full might make a belt sound harsh and piercing. And the curve that tames a belt often makes the chest voice sound thin and lifeless.
One static EQ. Two completely different sonic targets. Good luck.
A note on fairness
Before I ran the blind test, I want to explain something important about how I set it up.
magic.CURVE has an auto-balance feature that keeps the output gain identical regardless of how much EQ is applied. That matters enormously, because louder always sounds better to human ears. If one version is even 0.5dB hotter, most people will pick it - and they’ll think it’s because of the EQ.
So I gain-matched my own Logic EQ as closely as I possibly could to keep the comparison honest.
If you take one thing from this whole post, take that: gain match before you compare anything. Two EQs, two compressors, two mics, two mixes. Match the level or the test is worthless.
The reveal
For level two I ran it completely blind - plugin A and plugin B, no labels, no bias.
Plugin A was magic.CURVE. Plugin B was mine.
Did you pick mine? Be honest.
Level 3: The Whisper Vocal
For the final round I deliberately picked something the plugin wasn’t built for.
A whisper vocal.
Whisper vocals are weird. There’s almost no fundamental - it’s mostly air and high-frequency noise. The entire tonal balance is inverted compared to a normal sung vocal, which means a “hit song” curve derived from full-voice performances shouldn’t really apply.
I was absolutely hoping this was my win.
How I set up the test
Because raw whisper vocals sound dry and disconnected, I added compression and reverb so they’d feel like they actually belonged in a track.
Critically: the compressor and reverb were identical on both versions. Same plugins, same settings, same everything. The only variable that changed was the EQ itself.
That’s the correct way to run any A/B. Change one thing. Only one thing.
The reveal
Plugin A was my own hand-done EQ. Plugin B was magic.CURVE.
Which one did you like better?
So Who Actually Won?
Honestly? That’s up to you.
To my ears, they all sound pretty similar. A lot of the moves I was making by hand with Logic’s stock EQ were already happening inside magic.CURVE automatically. The mud cuts, the boxiness dips, the high-end lift - the plugin landed on the same conclusions I did, just faster.
But here’s where I think magic.CURVE genuinely has the edge:
It adjusts in real time to what the source is doing. My EQ is frozen in time.
That’s the whole ballgame on a vocal like level two. When the singer moves from chest voice to belt, my static curve is still applying the chest-voice correction to a belt. magic.CURVE isn’t. It follows the performance.
A human can beat a plugin on any single moment of a vocal. But a human with one static EQ instance can’t beat something that re-evaluates continuously.
What This Means for Your Vocals
A few takeaways you can use today regardless of whether you ever touch my plugin:
- Start with a high pass. Push it until you hear it, then back it off.
- Sweep to confirm problem frequencies. Your ear’s first guess is often an octave off - mine was.
- Know your microphone’s character. If your mic has a 1kHz bump, you’ll be cutting 1kHz forever. Learn it once.
- Gain match everything. Louder wins every blind test. Remove the variable.
- Dynamic voices need dynamic treatment. If your singer jumps registers, a single frozen EQ curve is a compromise, not a solution.
If you want to shortcut the whole process, I’ve got a set of 10 free vocal presets that’ll get you most of the way there, and a free Vocal Analyzer if you want to see exactly what your vocal’s frequency balance looks like before you touch anything.

And if you want the full system - from raw recording to finished radio-ready vocal - Pro Vocals in 60 Minutes walks through the whole chain.
magic.CURVE Is Dropping Soon
The full release version of magic.CURVE comes out July 7th.
If you want it at a discount, get on the waitlist before then - that’s the only way to claim it.
And if you think you can beat it by hand? Prove me wrong. I’d genuinely love to see it.
About Mattie
Mattie is a music producer, songwriter, and educator specializing in Logic Pro and vocal production. With over 10 years of experience in the music industry, he's helped thousands of artists transform their home studio recordings into professional-quality tracks.
As the founder of Music By Mattie, he creates tutorials, presets, and courses that simplify complex production techniques. His mission is to make professional music production accessible to everyone, regardless of budget or experience level.