How to Make DIY Acoustic Panels for $28! (In 2024!) Welcome to the loud, chaotic, yet unbelievably rewarding world of
How to Make DIY Acoustic Panels for $28! (In 2024!) Welcome to the loud, chaotic, yet unbelievably rewarding world of
Heya folks, Mattie here! Today, I’m thrilled to bring you a topic that’s as essential as the frozen banana in
How to Make DIY Acoustic Panels for $28! (2024 Update) Welcome, aspiring music producers and sound enthusiasts! Today, we’re diving
Analog vs. Digital Oscilloscopes: Which is Best for Your Lab? Ah, oscilloscopes. The wallflowers at the rock concert that is
The Battle of Tone: Analog vs. Digital Guitar Pedals Let’s Break the Ice, Shall We? Hey, folks! Mattie here. Welcome
Analog or Digital Signal: Which is More Reliable Hey there, sound warriors! 🎧 Ah, the never-ending debate of analog vs.
Analog vs. Digital Recording: Which Captures Music Better? Hey you! Yeah, you—the one who’s been losing sleep over whether to
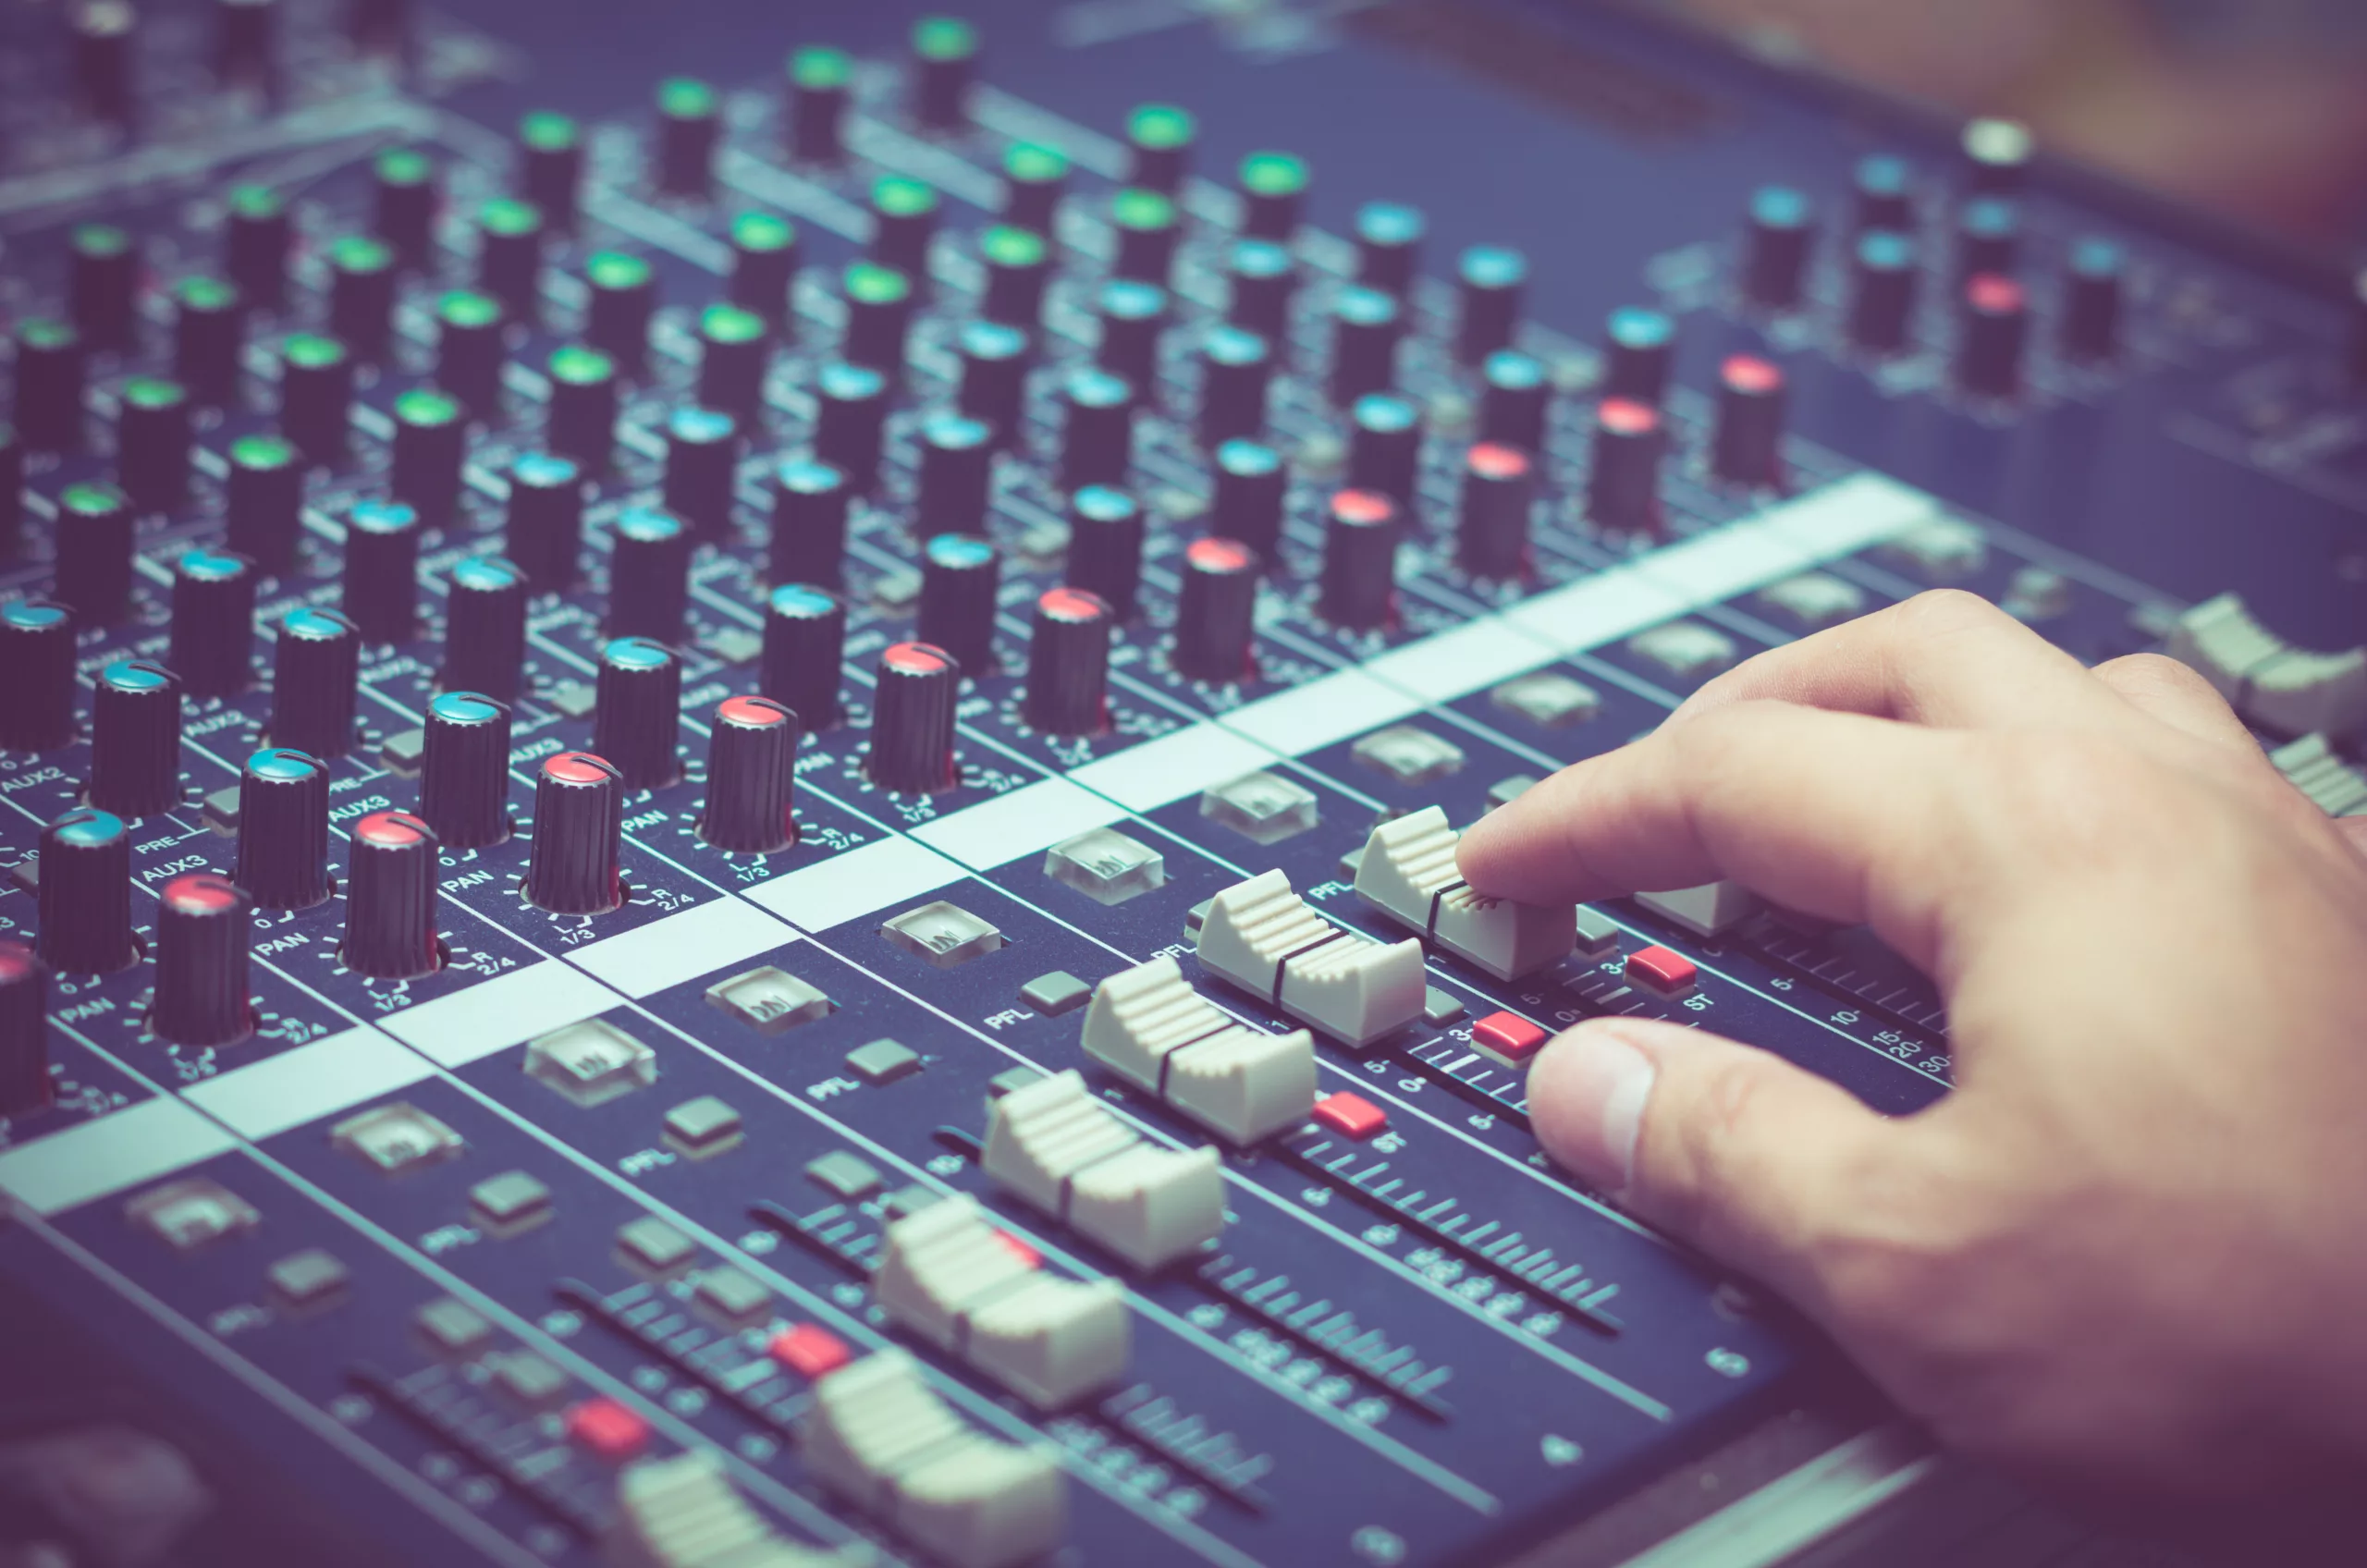
Digital vs. Analog Mixers: Pros, Cons, and Performance Hey there, audionauts and sound-scapers! Mattie here. Welcome to another episode of